 My son, Gavin, and I decided we needed some St. Patty’s Day decorations for the house. I’ve been trying to do some sort of art/craft project with him every Saturday morning. So I thought this would be a good project. I was thinking of some sort of shamrock garland and a pot of gold. I wanted to use the Cricut cutting machine to cut out my shapes, but I needed a way for Gavin to do a bit more than glue things together. So I thought this would be a good way to practice his letters, one for each shamrock.
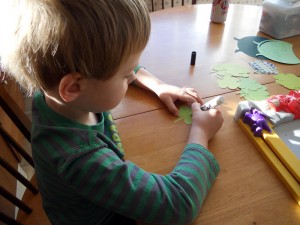 The shamrocks were cut from 4 different sheets of paper. I went to the craft store and found green patterned sheets. I used the stock shamrock design from Sure Cuts A Lot software. I cut 8 shamrocks from each of the papers. This gives me 32 shamrocks, which is a few extra in case we goof up.
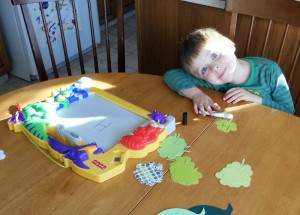
 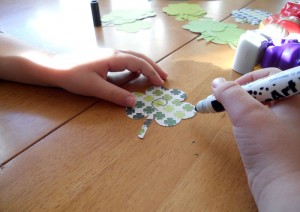 Then I just piled them up in stacks and let him draw his letters on whichever he chooses. I let him choose if he wanted to do uppercase or lower case letters. Most of them he knew. For the ones he didn’t know, I used a magna doodle pad to show him how to make the letters. I was pleasantly surprised he knew as much as he did. I think I only helped him on 3 letters!
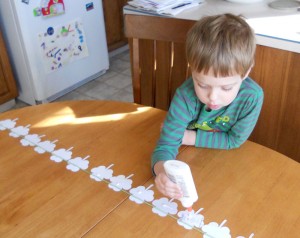 After we were done with the letters, I grabbed some green yarn and taped it taunt (not tight) to the table. I slid each of the shamrocks under the string face down and let him put a bit of glue beneath the string. While that dried, we worked on the pot of gold.
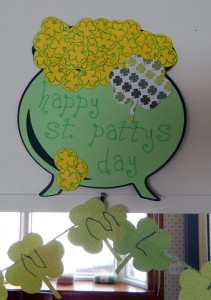
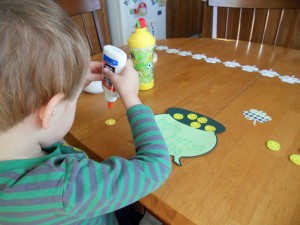 The pot of gold was designed by me using Inkscape. I’ve provided the SVG file for importing into Sure Cuts A Lot below. The background is dark green. The foreground is a lighter green. I used a green Cricut marker to write the words “Happy St. Patty’s Day”, then cut out the foreground. The coins were on a yellow card-stock. First I used the green Cricut Marker to make the design, then I cut each of the circles.
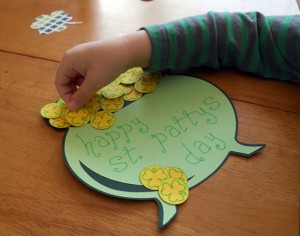 To assemble the pot of gold, I glued the foreground to the background myself, since it required a more precise alignment. Then I let Gavin glue each of the coins to the pot. I pretty much let him put them wherever he wanted. To finish off, I glued one of the left-over shamrocks to the side of the pot.
When everything was dry, we hung up the garland over a door way. I must have been a bit dyslexic, because I put the letters on backwards. Oh well. Then we hung the pot of gold over the garland.
There we have it; our St. Patty’s Day decoration! We both had a lot of fun and it took maybe an hour. Perhaps a half-hour prep. It might have been a bigger project than 4yo can pay attention to. But adding the letters to the shamrocks seemed add that extra element of fun. He was very proud of his creation and is sure to show everybody that walks through the door.

